{ranai}
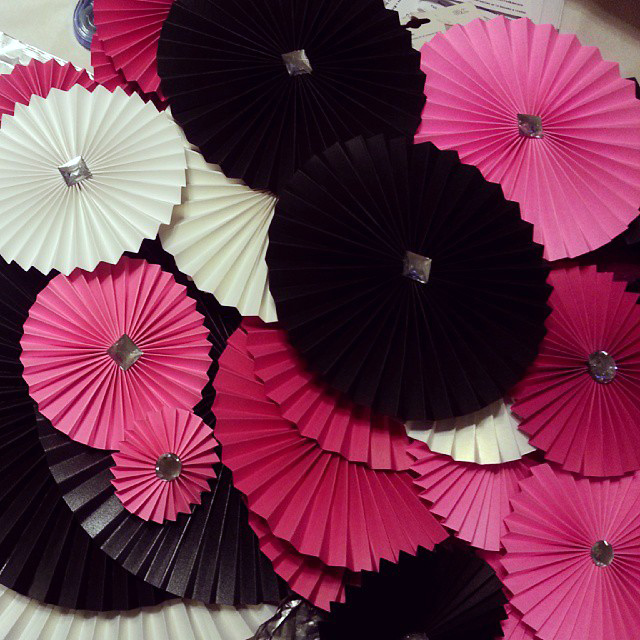
My most often requested décor for any party is always paper medallions…always! The first time I made them it seemed like it took forever and my hands hurt like heck. Now I can whip out dozens super quickly. It really is a practice makes perfect kind of craft!
You don’t need a lot of tools to make them, but they are pretty specific:
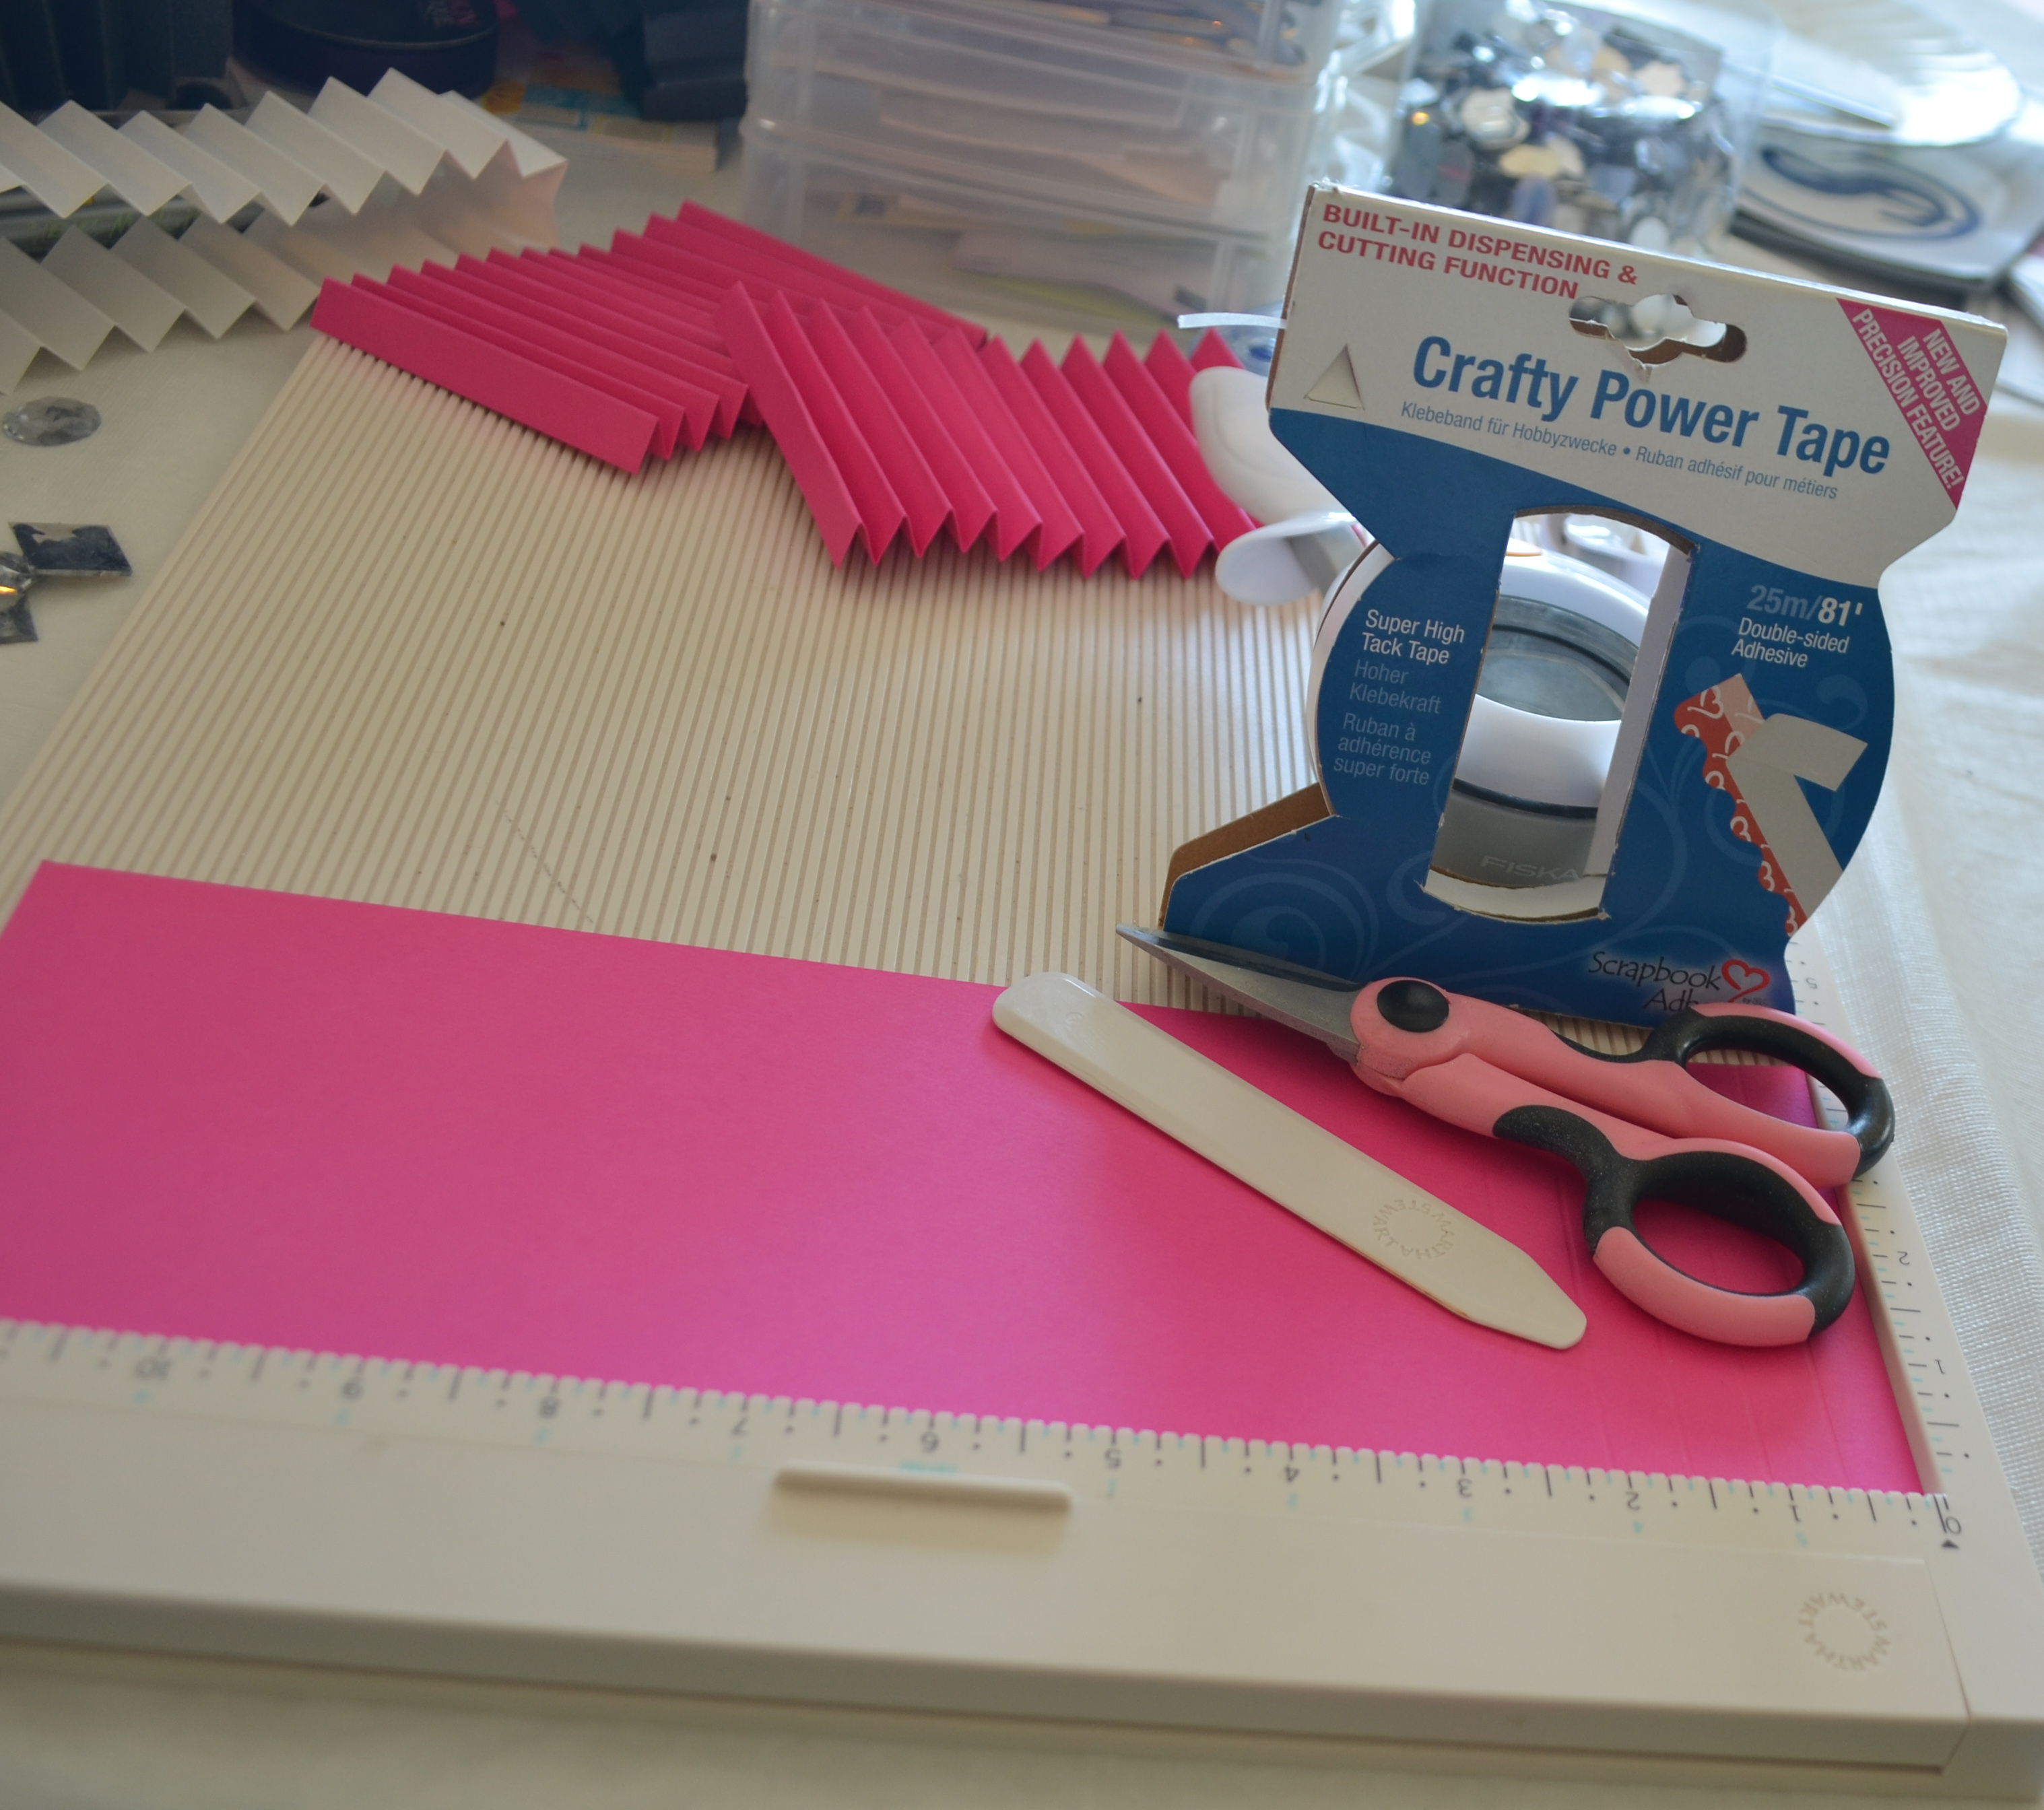
- Scoring board– I like the Martha Stewart version, which you can get at most craft stores with a coupon, but use whichever board you feel comfortable with.
- Crafty power tape- this is my favorite, and can be found at your local Joann Fabric and Craft stores (not online) where you can use a coupon, or you can purchase it online. You CANNOT use regular double sided tape or a tape runner. There is also the traditional red tape that will work, but the crafty power tape lasts forever and has a handy dispenser which makes this project much easier.
- Scissors– sometimes you have to cut one or more folds off to make the folds line up properly,
- Glue gun and sticks– I prefer a hot glue gun, but your fingers do get really close to the glue, so you might want to use a cool gun
- Cut out circle punches, buttons, other large embellishments– This is to hold everything together and hide the hot glue
- Paper– I generally use 12×12 cardstock in solid colors or a super busy pattern. Simple patterns are not seen as easily and are hard to line up.
- Paper cutter with ruler– your paper strips need to be straight and fairly exact
Instructions:
1. Determine the size medallion you need: I generally follow this format (each strip is 12″ long)-
| Overall Size | Cut strips at | Number of Strips |
| 3″ | 1.5″ | 1 to 2 |
| 4″ | 2″ | 2 |
| 6″ | 3″ | 3 |
| 8″ | 4″ | 3 |
| 12″ | 6″ | 4 |
Feel free to play around with the number of strips and how big you cut them. For a more fanned out look cut some of the folds off before you glue all of the strips together.
2. Cut your paper strips: Make sure all of the strips for each medallion are cut at the same width.
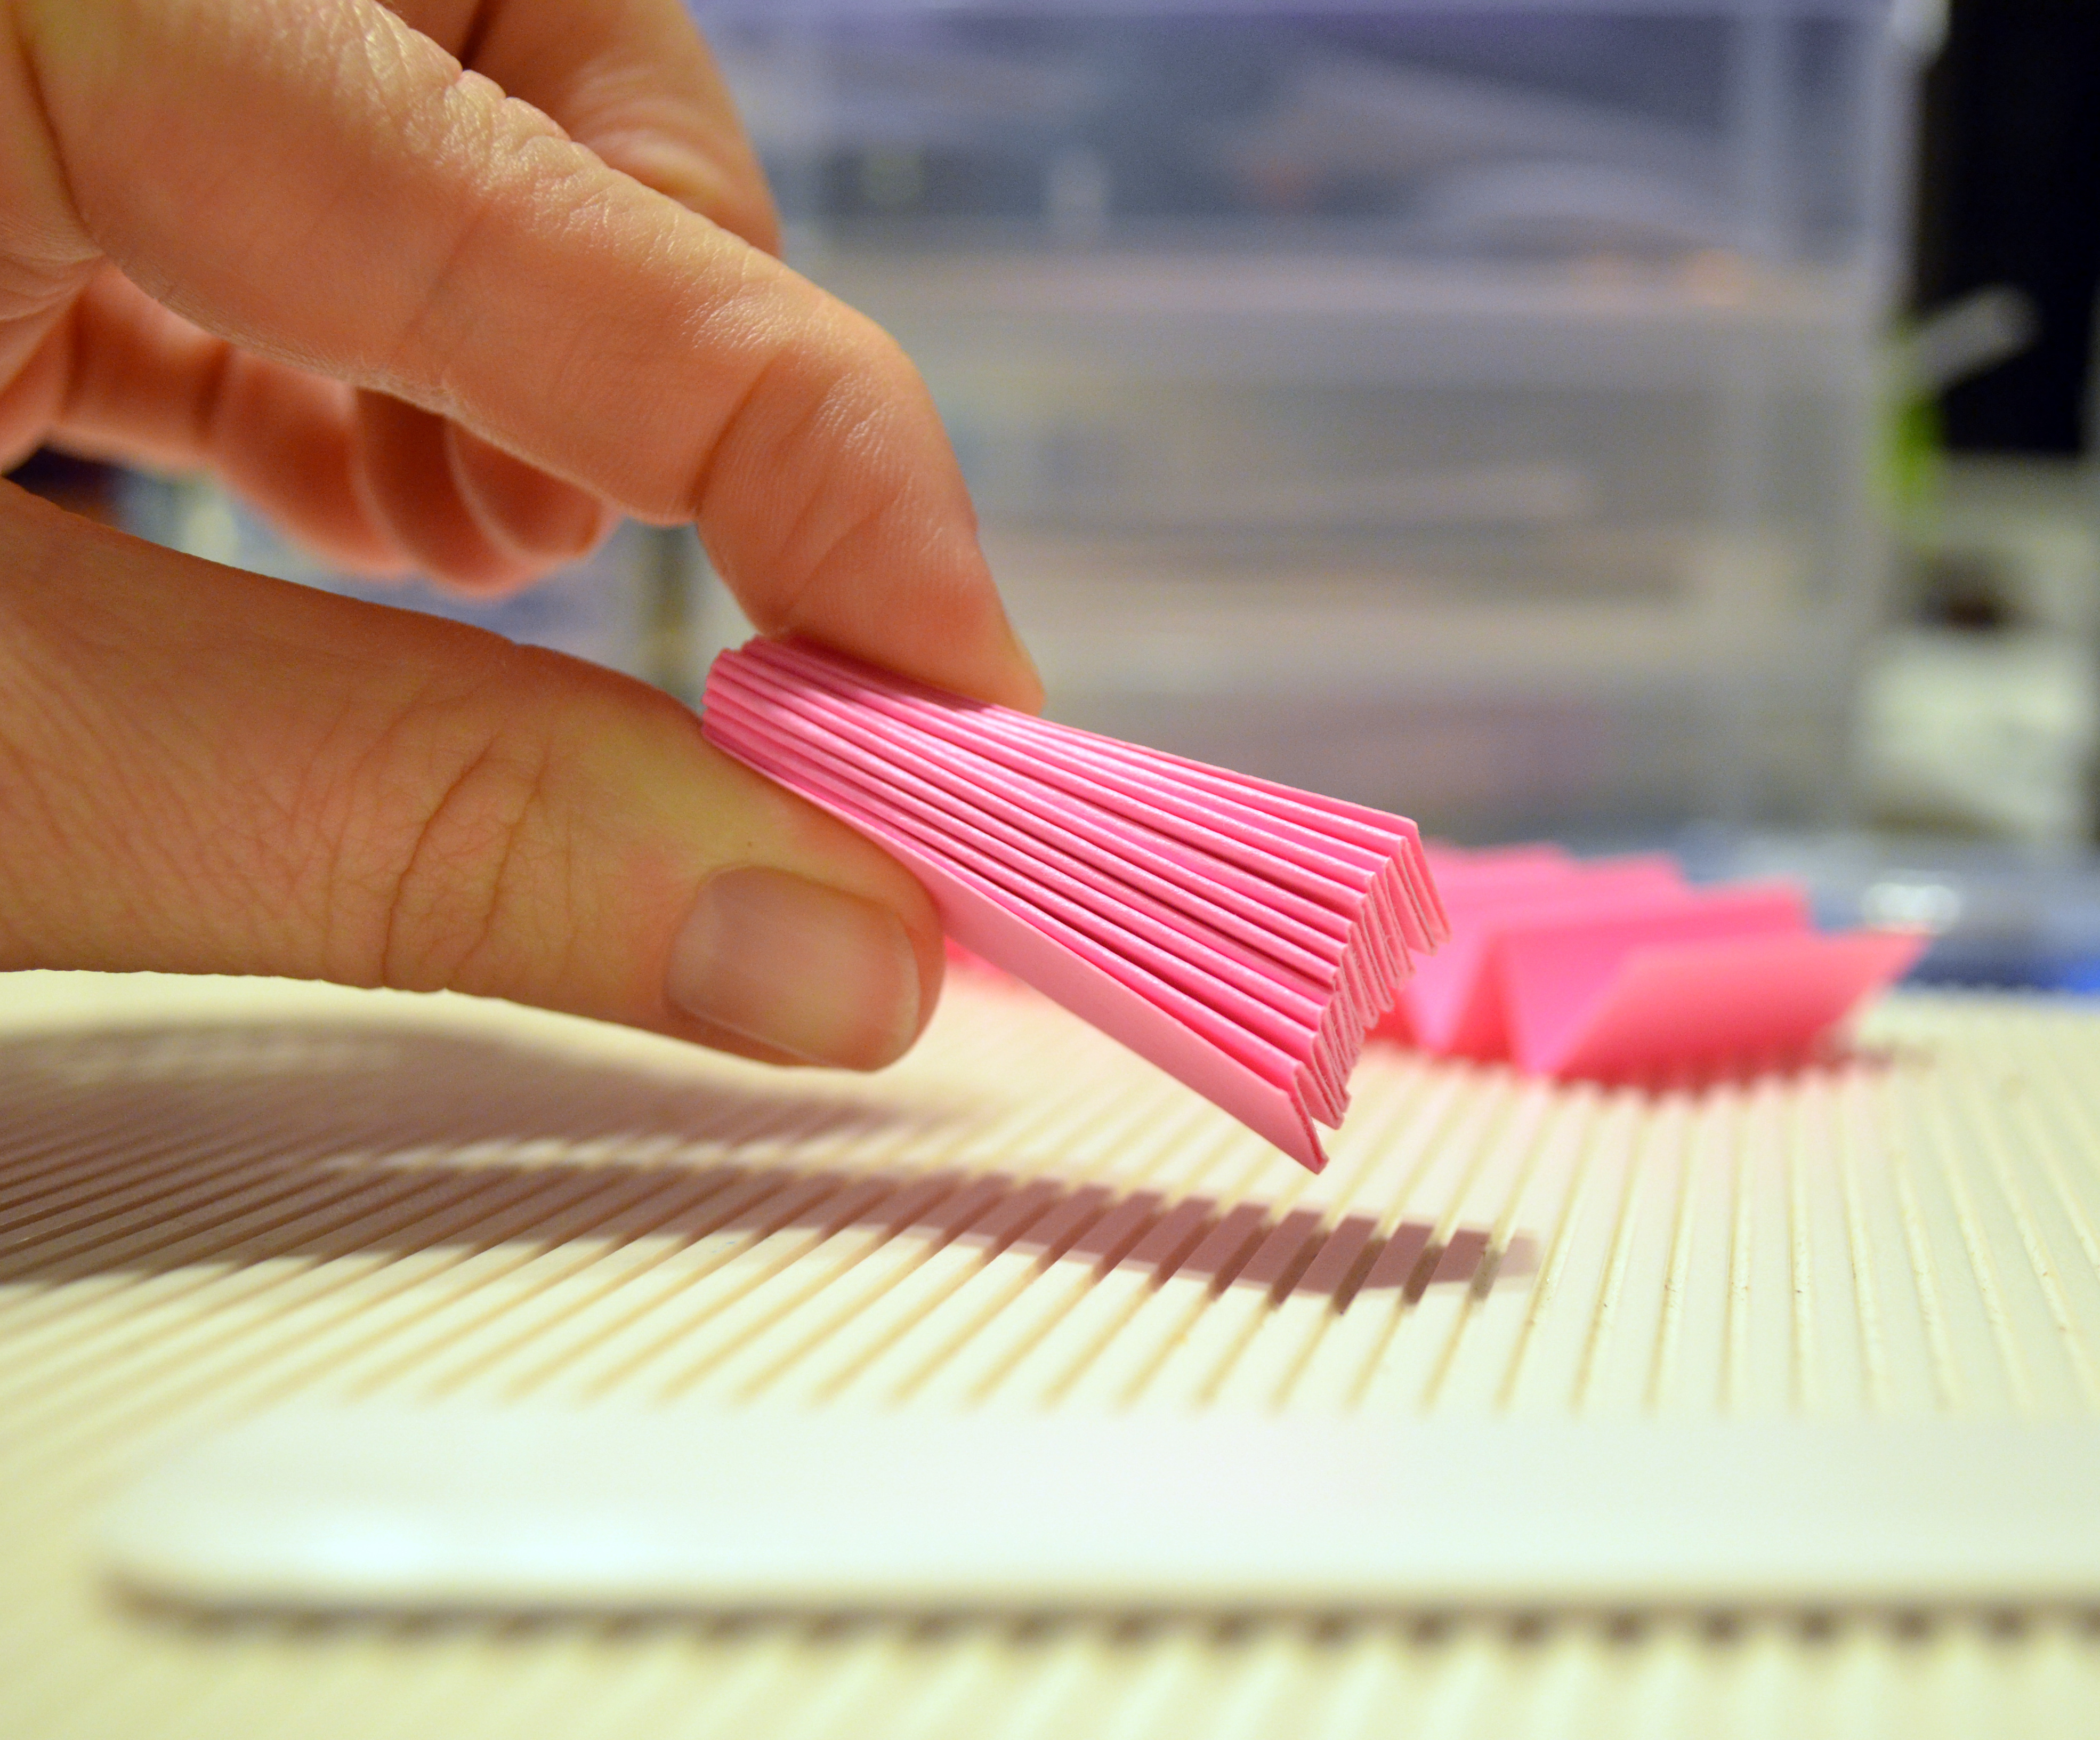
3. Score the strips: Using the scoring board follow the lines with the tool provided pressing firmly but not so hard that the paper rips. I usually score at 1/2″. For larger medallions you can score them farther apart (less scoring and folding!) and for smaller medallions you can score at 1/4″ (more scoring and folding!). Play around with this to find the look you desire.

4. Accordion fold the paper: You know the drill! Fold back and forth until the entire strip of paper is folded.
5. Tape the strips together: Overlap the ends and adhere them together using the crafty power tape. Don’t overlap too much otherwise it gets a bit bulky. Trim the ends if necessary.

6. Push the center in so it forms a circle: This can be a bit tricky, especially with larger medallions. Place the paper up so it looks like a cylinder. Using both hands push the center in until the medallion is flat on the table. Keep holding it down otherwise it will pop right back up!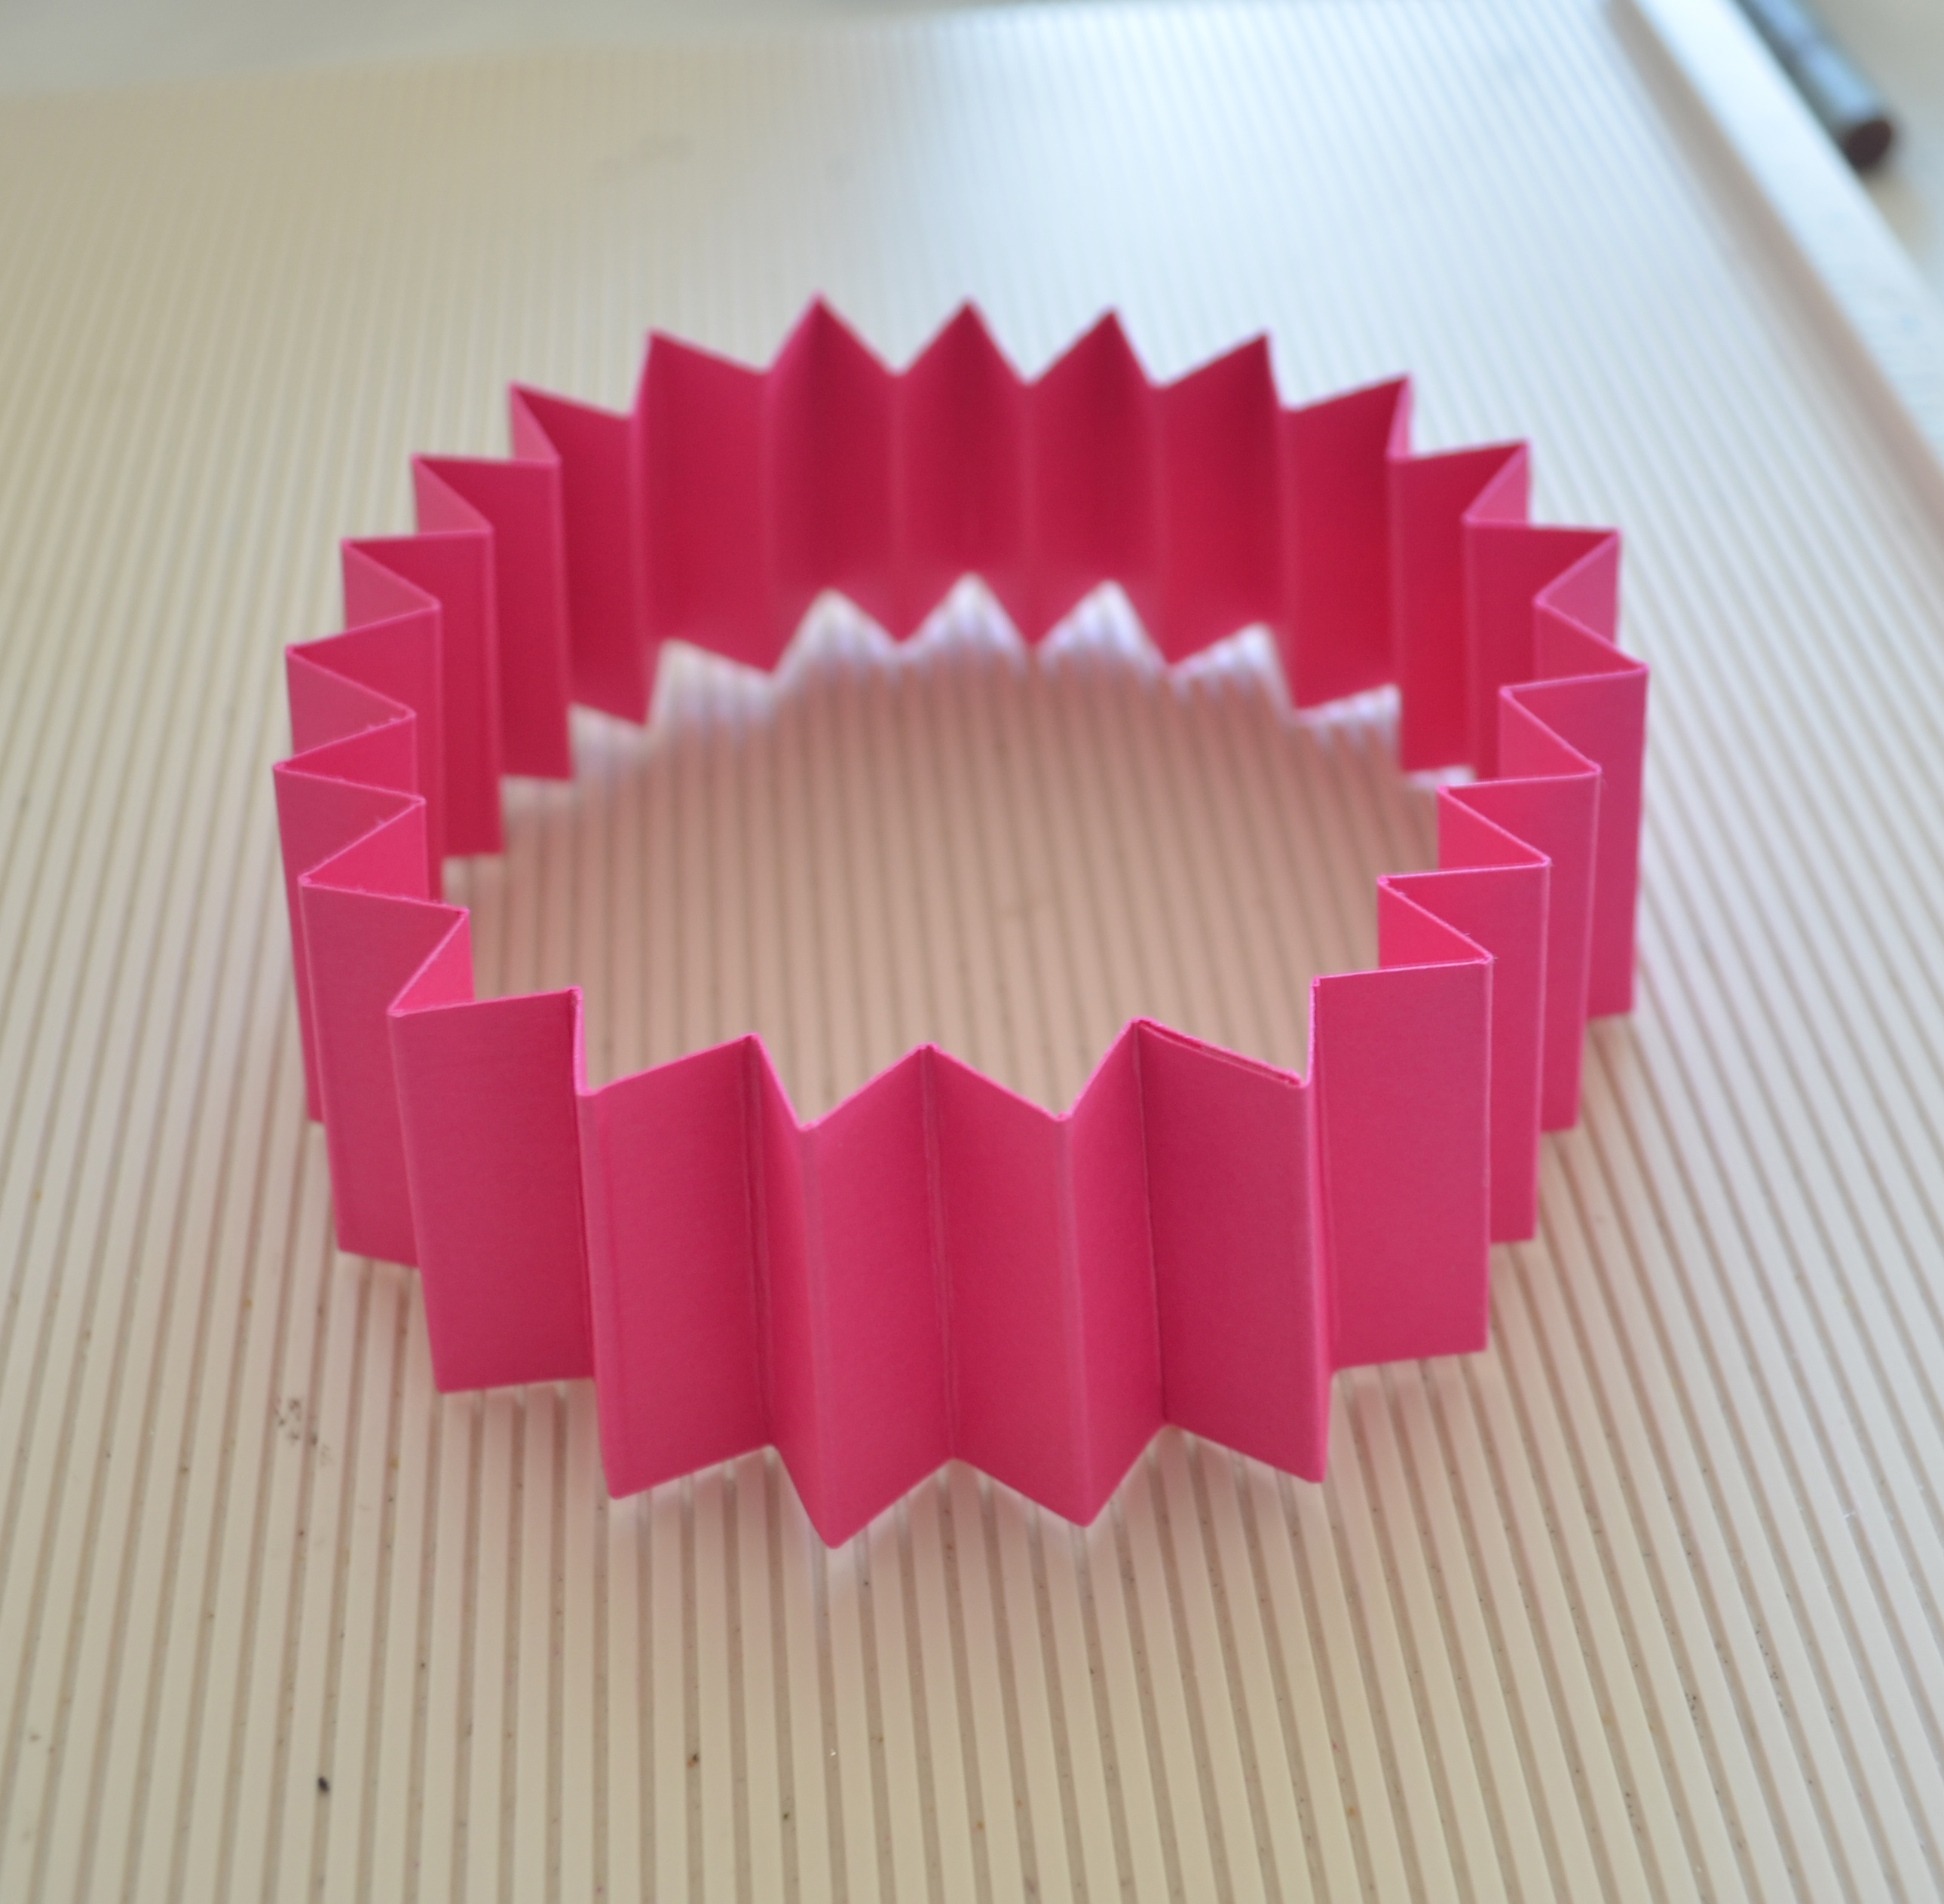
7. Glue the center and place the embellishment: While holding it down, glue the center and put the embellishment down immediately. I sometimes will use my hands and my stomach to hold everything in place.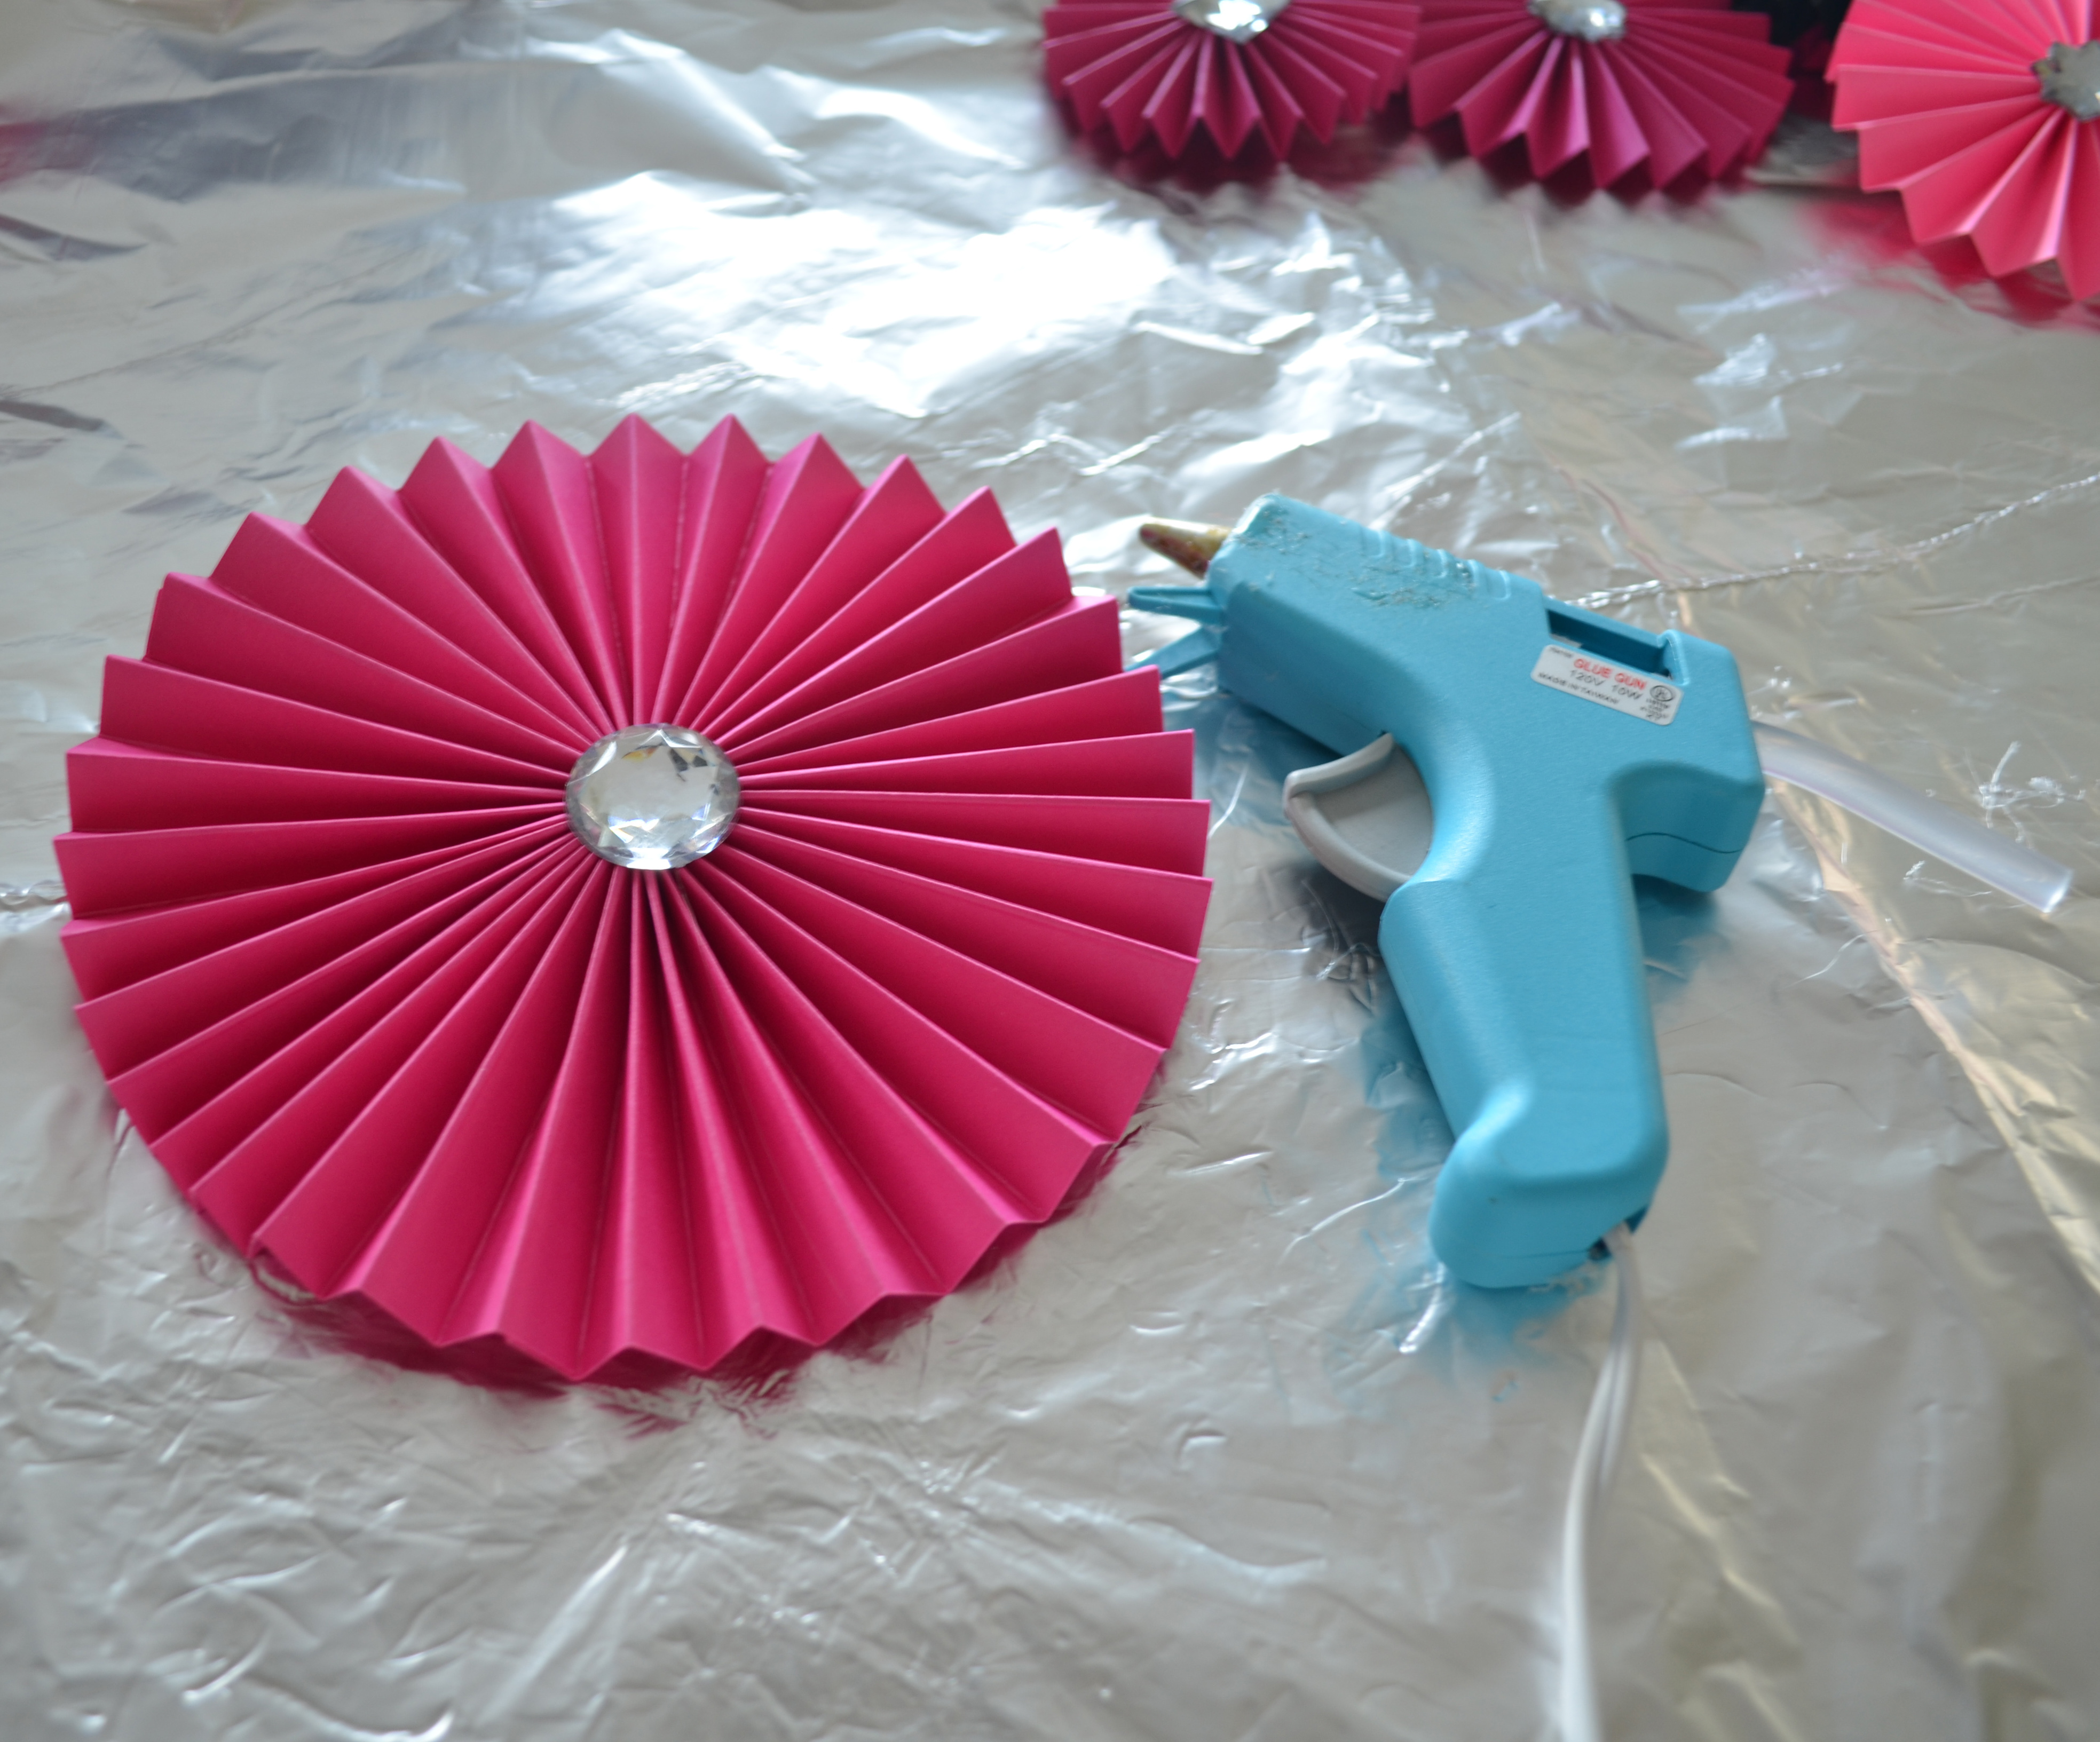
8. Hold everything together until the glue sets: Don’t let it go too quickly or you end up with a mess! Let the sides go slowly until you know for your it’s not separating from the embellishment.

That’s it! There are so many adorable uses for paper medallions; the only limit is your imagination 🙂

[…] few other DIY details pulled everything together. I made small medallions and sprinkled them around the tables. A roll of white, shimmery deco mesh made a perfect table […]
[…] played a big part in the success of this wonderful event. One of her requests was for us to make a paper medallion garland for decor. Ranai had these old doors that we used for the Mad Hatter party that we spray […]