{Ranai}
Every now and again I go through these bouts of Marie Kondo esque moments of organizing and decluttering. I say every now and again because generally I’m genetically predisposed to hoarding tendencies and don’t stay as tidy as I should. One of those moments was when I looked at this immense pile of post earrings in little jewelry dishes that made it impossible to ever find the pair I wanted; so I just didn’t wear them.
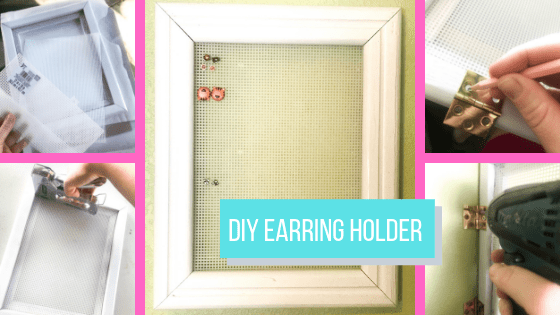
This idea popped into my head to make an earring holder from a frame that was on hinges so I could pull it towards me, take the front and back off at the same time, and push it back so it’s out of the way. I had everything I needed around the house…you know, being predisposed to hoarding tendencies and all, so I grabbed my gear and got started. Even if you don’t just have all of these supplies around your house, they’re all relatively inexpensive.
Supplies:
- Wooden frame (whatever size you want your holder to be)
- Staple gun and staples
- Spray paint (or leave the frame whatever color it is)
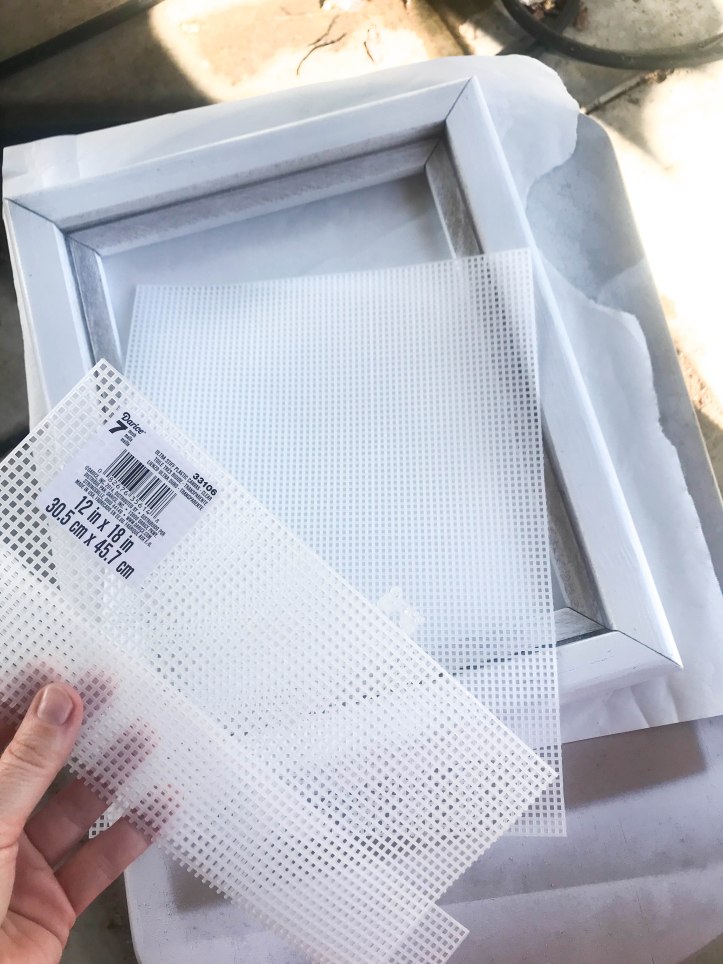
- Plastic mesh canvas (found near cross stitch supplies)
- Hinges and screws
- Pencil
- Drill and drill bits
- Impact driver (or good old fashioned screw driver)
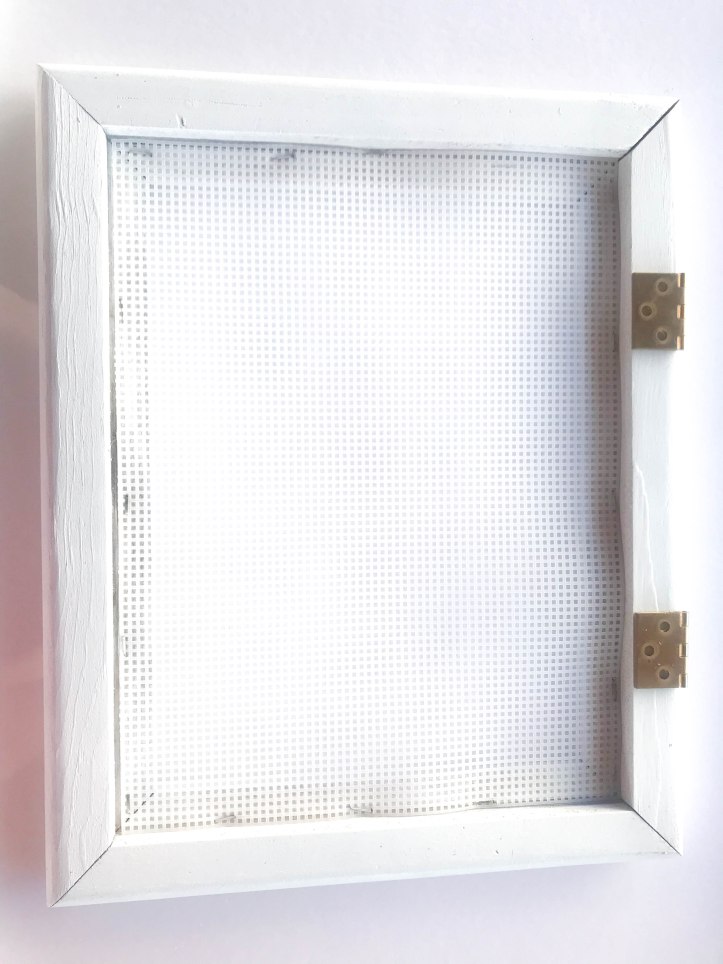
Step 1: Select your frame. Make sure it has a good sized inner ledge to be able to staple. Paint if needed/desired. Mine was 90s looking oak so I gave it a couple coats of white.
Step 2: Measure the plastic mesh canvas and cut it to fit the inside of the frame.
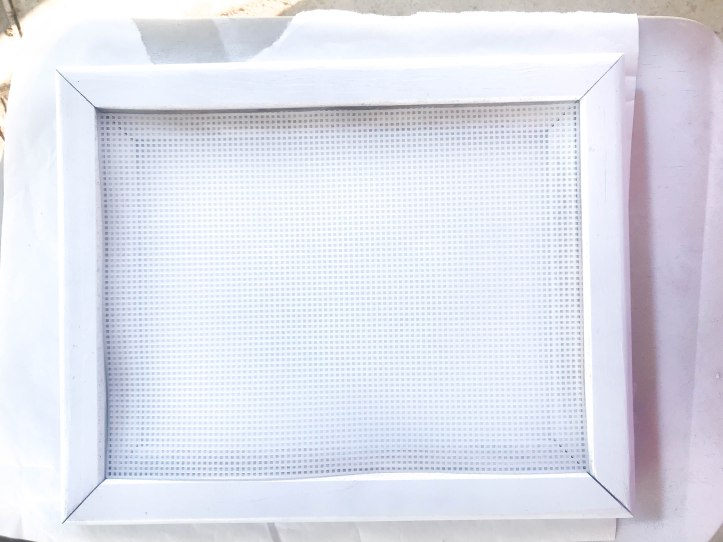
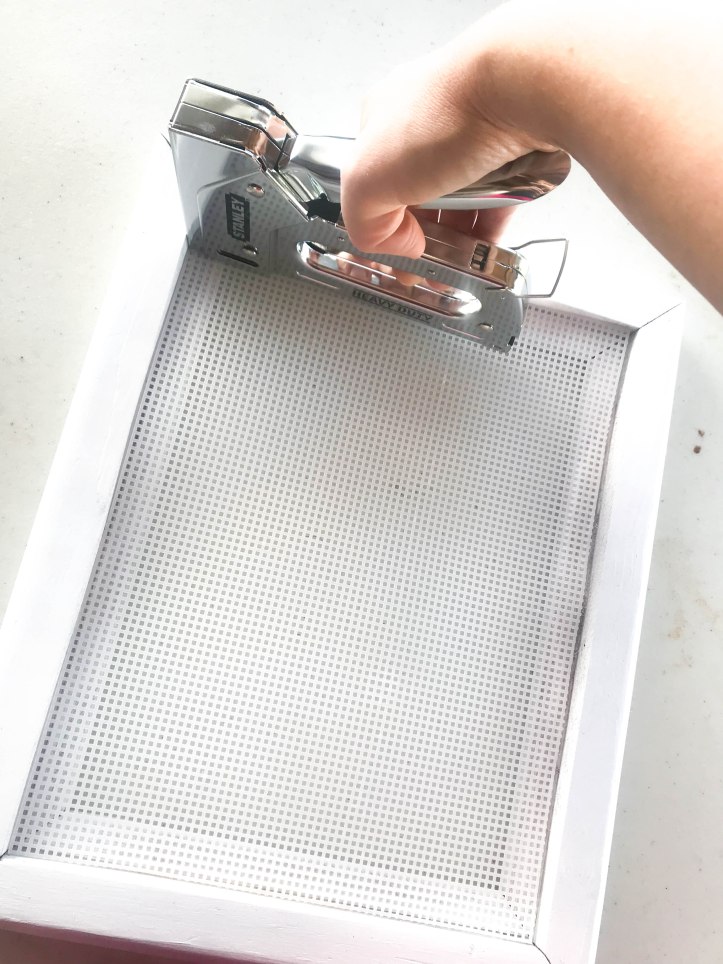
Step 3: Staple mesh to the inside of the frame using at least a few staples on each side. If needed, add hot glue around the edges.
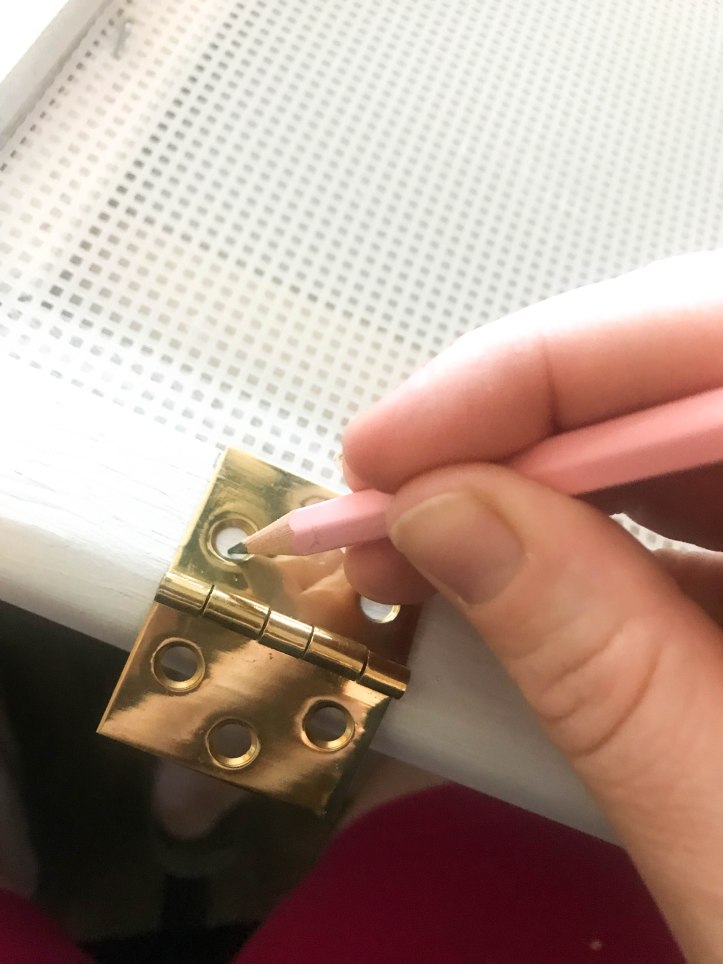
Step 4: Measure an equal distance from the top and bottom of the frame for hinge placement.
Step 5: Using a pen or pencil mark where the holes should be drilled.
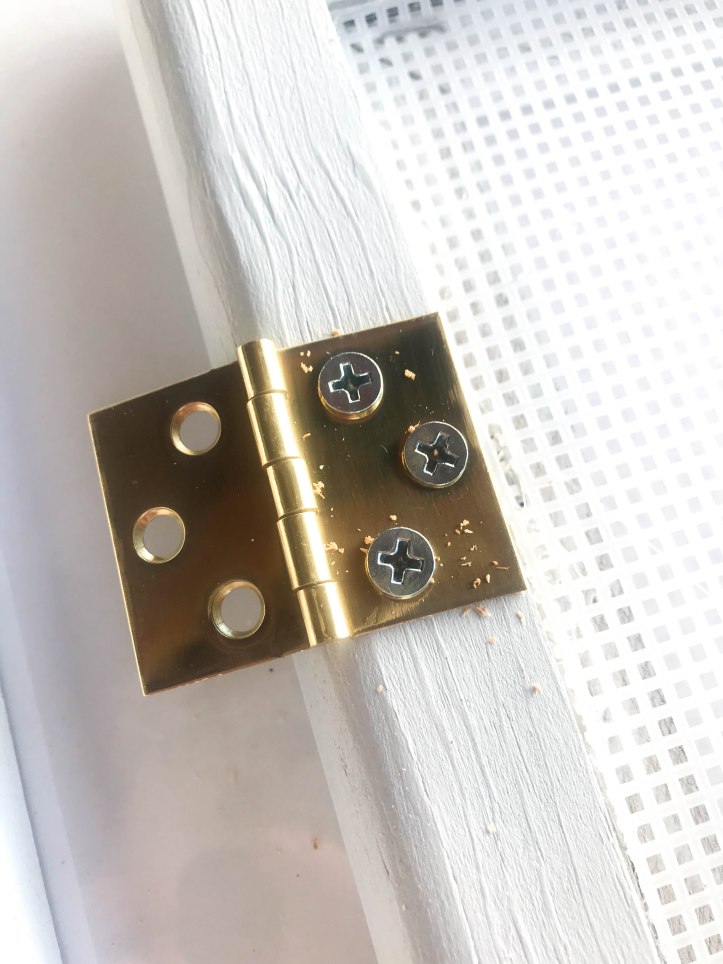
Step 6: Pre-drill your holes.

Step 7: Attach the hinges with screws.
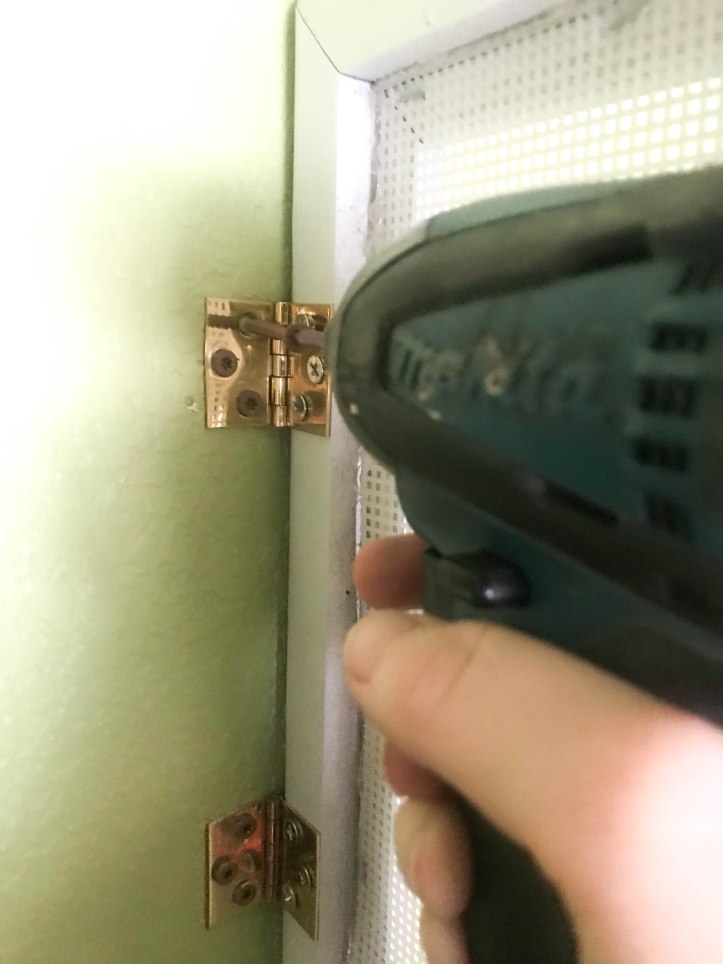
Step 8: Preferably on a stud, secure the hinges to the wall.
Step 9: Load up those earrings and enjoy!

The project was super quick and relatively painless. And now all my earrings are visible and tidy!
